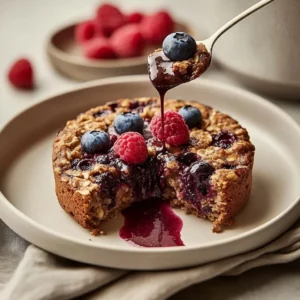

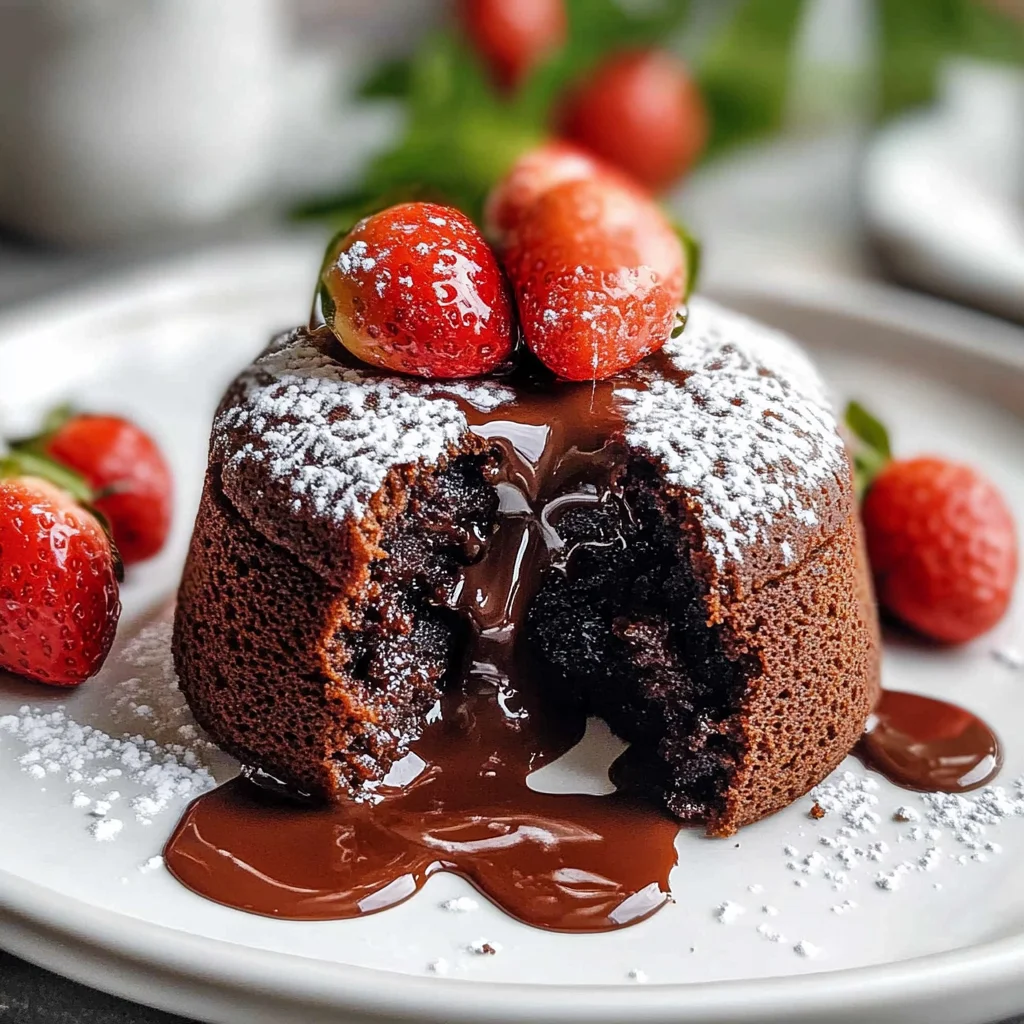
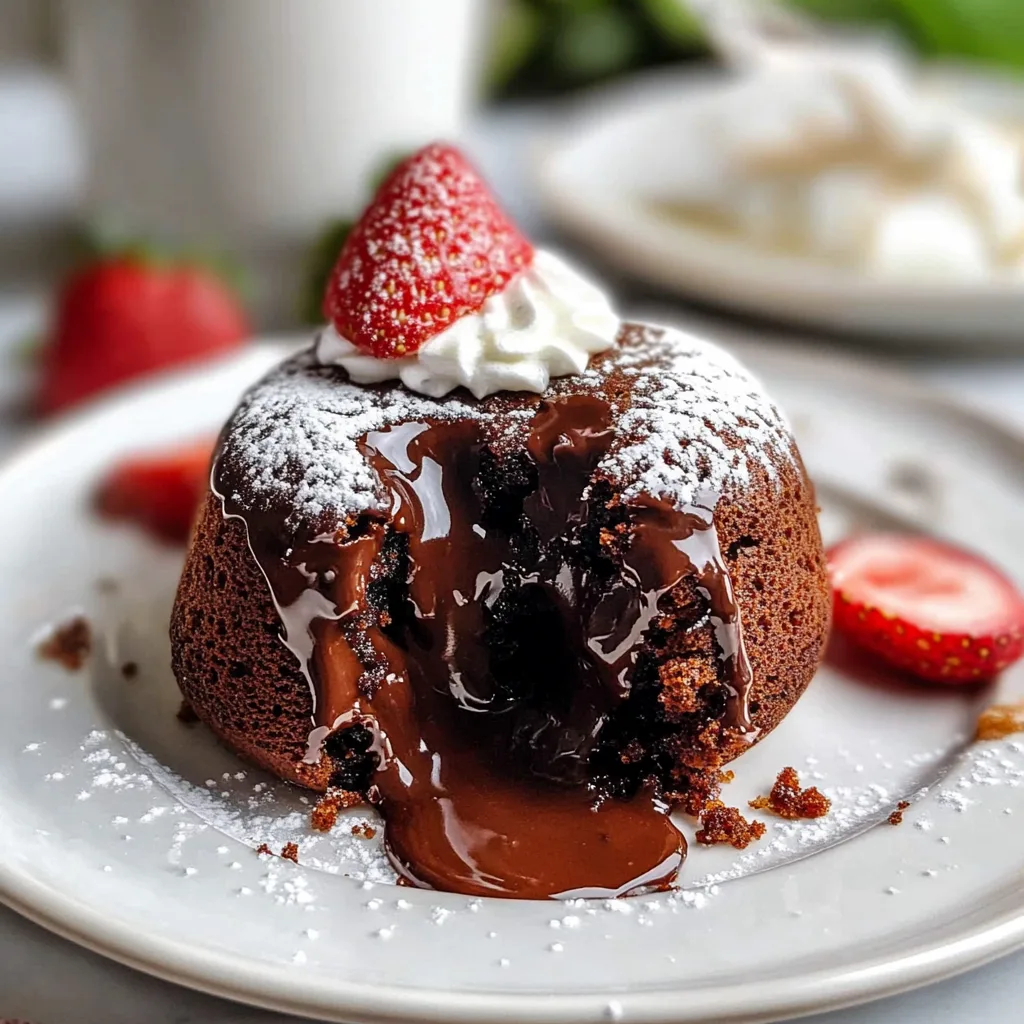
Imagine sinking your fork into a warm, decadent Easter Chocolate Lava Cake, the rich chocolate exterior giving way to a luscious, gooey center that oozes indulgence. The aroma of freshly baked chocolate fills the air, enticing everyone around you and making it impossible to resist. Each bite is a heavenly experience, blending velvety textures with an explosion of flavor that dances on your palate—ideal for sharing during festive family gatherings or cozy celebrations.
Reflecting on childhood memories, I remember eagerly waiting for dessert after Easter dinner, my eyes lighting up at the sight of these cakes. The joy on everyone’s faces as they dug in was contagious, creating moments of laughter and delight that linger long after the last bite. These Easter Chocolate Lava Cakes promise not just a treat but a delicious adventure filled with warmth and shared happiness that makes any occasion truly special.
Why Is Easter Chocolate Lava Cakes So Irresistibly Good?
Decadent chocolate flavors melt in your mouth, creating a dessert that feels indulgent yet is surprisingly simple to whip up. Quick prep time of just 15 minutes means you can make these cakes even on a busy holiday. Gooey centers surprise and delight, making them perfect for impressing guests or treating yourself. Versatile serving options, like pairing with vanilla ice cream or fresh berries, elevate the experience. Plus, everyone loves a warm, molten chocolate cake—it’s a guaranteed crowd-pleaser at any Easter celebration!
Easter Chocolate Lava Cakes Ingredients
- For the Lava Cakes
- 1 cup semisweet chocolate chips – These rich chocolate chips create that luscious, gooey center that’s the star of your Easter Chocolate Lava Cakes.
- 1/2 cup unsalted butter (plus extra for greasing ramekins) – Unsalted butter ensures perfect control over the sweetness while keeping the cakes moist and tender.
- 1 cup powdered sugar – This sweetener adds a delightful fluffiness to the batter, balancing the rich chocolate flavor beautifully.
- 2 large eggs – Eggs provide structure and richness, making your lava cakes delightfully airy yet decadent.
- 2 large egg yolks – The extra yolks enhance creaminess and contribute to that molten lava texture in each bite.
- 1 teaspoon vanilla extract – A hint of vanilla elevates the chocolate flavor, creating a warm and inviting aroma as they bake.
- 1/2 cup all-purpose flour – This small amount helps bind the ingredients together while allowing for that signature gooey center.
- 1/4 teaspoon salt – A pinch of salt enhances the overall sweetness and balances the rich flavors of your cakes.
- For Serving
- 1 cup vanilla ice cream (optional) – Serve alongside for an irresistible contrast of hot and cold, adding creaminess to your dessert experience.
- 2 tablespoons fresh berries (for garnish) – Fresh berries add a pop of color and a refreshing burst that brightens up your Easter Chocolate Lava Cakes presentation.
How to Make Easter Chocolate Lava Cakes
1. Preheat the oven to 425°F (220°C). Grease four ramekins with butter, then dust them lightly with flour to ensure your cakes release perfectly after baking.
2. Combine the chocolate chips and butter in a microwave-safe bowl. Microwave in 30-second intervals, stirring after each, until melted and smooth—this should take about 1-2 minutes total.
3. Whisk in the powdered sugar until fully combined, creating a glossy mixture. Then add the two large eggs, two egg yolks, and vanilla extract, whisking until everything is beautifully smooth.
4. Fold in the all-purpose flour and salt gently until just combined—overmixing can lead to tougher cakes, so keep it light for that luscious gooey center!
5. Divide the batter evenly among the prepared ramekins, filling them about three-quarters full to allow room for rising during baking.
6. Place the ramekins on a baking sheet and bake for 12-14 minutes. Look for edges that are firm while keeping that center soft and jiggly; this is where the magic happens!
7. Invert the cakes onto plates after letting them cool for 1 minute. Serve warm with a scoop of vanilla ice cream and a sprinkle of fresh berries for an extra touch of delight.
Optional: Drizzle with chocolate sauce for an indulgent finish!
Exact quantities are listed in the recipe card below.
Tips for the Best Easter Chocolate Lava Cakes
- Greasing Ramekins: Use plenty of butter and flour to ensure easy release. A sticky cake can ruin the surprise of that gooey center!
- Microwave Melting: Stir the chocolate and butter every 30 seconds to prevent burning. Overheated chocolate can become grainy, affecting your lava cake’s texture.
- Egg Incorporation: Whisk eggs thoroughly with sugar before adding flour. This ensures a smooth batter and helps create that delightful molten middle.
- Baking Time: Keep an eye on the cakes as they bake. Underbaking is key for a flowing center; overbake and you’ll have dry cakes instead of luscious Easter Chocolate Lava Cakes.
- Cooling Time: Allow the cakes to rest for just 1 minute after baking. This helps them hold their shape while still keeping that irresistible gooeyness inside.
- Serving Warm: Serve immediately with vanilla ice cream and fresh berries to enhance the rich chocolate flavor and add a refreshing contrast!
How to Store and Freeze Easter Chocolate Lava Cakes
- Room Temperature: Enjoy your Easter Chocolate Lava Cakes fresh for up to 2 hours at room temperature, but be sure to cover them lightly with foil to retain warmth.
- Fridge: Store any leftovers in an airtight container in the fridge for up to 3 days. Reheat gently in the microwave for about 20 seconds before serving.
- Freezer: Freeze unbaked lava cakes in greased ramekins, wrapped tightly in plastic wrap, for up to 1 month. Bake straight from the freezer; just add a couple of extra minutes to the baking time.
- Reheating: For best results, reheat baked lava cakes in a preheated oven at 350°F (175°C) for about 10 minutes, ensuring that the centers remain gooey and delicious.
Easter Chocolate Lava Cakes Your Way
Feel free to get creative and personalize these indulgent treats to suit your taste and preferences!
- Dark Chocolate: Swap semisweet chips for dark chocolate for a richer, deeper flavor. This variation gives a sophisticated twist to the classic lava cake, perfect for chocolate lovers seeking an intense experience.
- Nut Butter: Replace butter with almond or hazelnut butter for a nutty flavor. The addition of nut butter not only enhances the taste but also adds a delightful creaminess that complements the chocolate perfectly.
- Gluten-Free: Use almond flour instead of all-purpose flour for a gluten-free option. This swap creates a slightly denser cake, while still delivering that luscious molten center you adore.
- Coffee Infusion: Add 1 tablespoon of brewed espresso to the batter for an enchanting mocha flavor. The coffee elevates the chocolate richness, creating a decadent dessert that’s simply irresistible.
- Mini Lava Cakes: Pour the batter into mini muffin tins for bite-sized versions. These adorable portions are perfect for sharing and make for a fun twist on the traditional presentation.
- Spicy Kick: Mix in 1/4 teaspoon of cayenne pepper or chili powder for added heat. This unexpected kick contrasts beautifully with the sweetness, making each bite an adventurous delight.
- Fruit Fusion: Fold in fresh raspberries or chopped strawberries into the batter before baking. These fruity additions bring brightness and a burst of freshness that balances the richness of the chocolate.
Make-Ahead Tips for Easter Chocolate Lava Cakes
These Easter Chocolate Lava Cakes are a delightful treat that can easily fit into your meal prep routine, making them perfect for your holiday celebrations. You can prepare the batter up to 24 hours in advance by completing the steps of melting the chocolate and butter, whisking in the powdered sugar, eggs, egg yolks, and vanilla extract, and gently folding in the flour and salt. Once prepared, divide the batter evenly among greased ramekins and cover them tightly with plastic wrap before refrigerating. When you’re ready to bake, simply preheat your oven to 425°F (220°C), place the ramekins on a baking sheet, and bake for 12-14 minutes until the edges are firm but the center remains gooey. This way, you’ll have deliciously warm Easter Chocolate Lava Cakes ready to serve with a scoop of vanilla ice cream and fresh berries in no time!
Easter Chocolate Lava Cakes Recipe FAQs
What type of chocolate should I use for the lava cakes?
Using semisweet chocolate chips is ideal for these lava cakes as they melt smoothly and provide a rich, balanced sweetness. If you prefer a darker flavor, you can opt for bittersweet chocolate, but be mindful that this will intensify the cake’s richness.
Can I make these lava cakes ahead of time?
Absolutely! You can prepare the batter ahead of time and store it in the refrigerator for up to 24 hours. Just be sure to bring it to room temperature before filling your ramekins and baking. This allows for even cooking and that perfect gooey center!
How should I store leftover chocolate lava cakes?
If you have any leftovers (though they’re hard to resist!), store them in an airtight container in the fridge for up to 2 days. When you’re ready to enjoy them again, reheat gently in the microwave for about 20-30 seconds, until warm.
Can I freeze chocolate lava cakes?
While it’s possible to freeze baked lava cakes, it’s best to freeze them unbaked. Simply prepare the filled ramekins, cover them tightly with plastic wrap or foil, and freeze for up to 3 months. When you’re ready to bake, just add a few extra minutes to your baking time directly from the freezer.
What can I serve with chocolate lava cakes?
These decadent treats shine when served warm alongside a scoop of vanilla ice cream—it creates a delightful contrast with the molten center! Fresh berries also make an excellent garnish, adding a pop of color and refreshing tartness that enhances the overall experience.
How do I troubleshoot if my lava cakes don’t have a gooey center?
If your lava cakes turn out too firm, it might be due to overbaking. Keep an eye on them during the last few minutes; they should have firm edges but still jiggle slightly in the center when you take them out. Aim for that sweet spot of 12-14 minutes at 425°F (220°C) for that ooey-gooey texture!
Easter Chocolate Lava Cakes
Ingredients
Method
- Preheat the oven to 425°F (220°C). Grease four ramekins with butter and dust with flour.
- In a microwave-safe bowl, combine the chocolate chips and butter. Microwave in 30-second intervals, stirring until melted and smooth.
- Whisk in the powdered sugar until fully combined. Add the eggs, egg yolks, and vanilla extract, whisking until smooth.
- Gently fold in the flour and salt until just combined.
- Divide the batter evenly among the prepared ramekins.
- Place the ramekins on a baking sheet and bake for 12-14 minutes, until the edges are firm but the center is soft.
- Let the cakes cool for 1 minute, then invert onto plates. Serve warm with vanilla ice cream and fresh berries.