
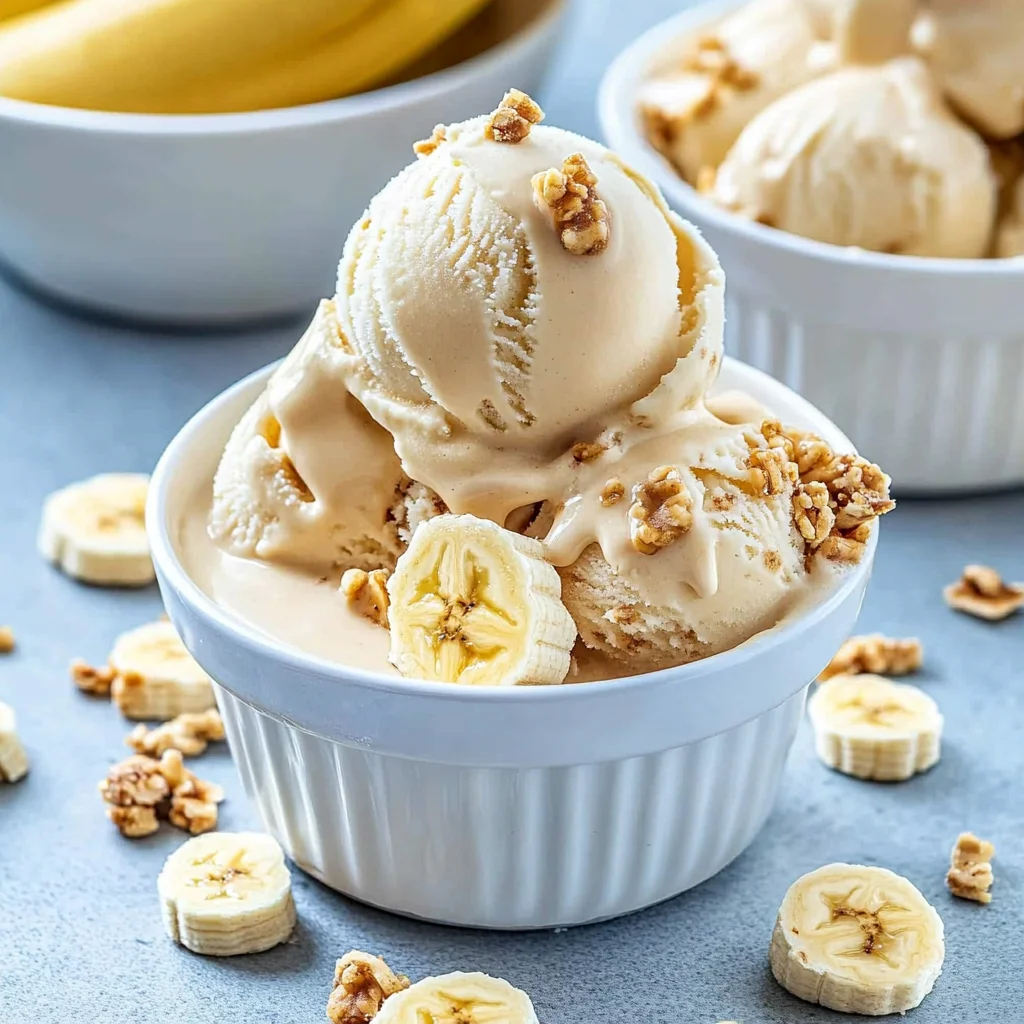
Picture this: a creamy, velvety scoop of No Churn Banana Ice Cream that melts in your mouth, releasing waves of sweet banana goodness with every bite. The delightful aroma wafts through the air, inviting you to indulge in this easy dessert that’s ready to please your taste buds and cool off those hot summer days.
I still remember the first time I whipped up this delightful treat during a family barbecue. As my cousins gathered around, eager for a taste, the laughter and joy filled the air, making it an unforgettable moment. Whether it’s a cozy movie night or a fun-filled picnic, this no-fuss recipe is bound to elevate any occasion with its irresistible flavors and creamy texture that’ll leave everyone asking for seconds!
Why Is No Churn Banana Ice Cream So Irresistibly Good?
Creamy texture that melts in your mouth, thanks to rich heavy cream. Natural sweetness from ripe bananas creates a guilt-free dessert that everyone will love. Quick prep time of just 10 minutes means you can satisfy your cravings without the wait. Versatile base allows for endless variations—add chocolate chips or nuts! Plus, no ice cream maker needed makes it perfect for spontaneous treats!
Ingredients for No Churn Banana Ice Cream
- For the Base
4 ripe bananas (sliced and frozen) – Choose bananas that are spotty for optimal sweetness and flavor.
- For the Creamy Texture
1 cup heavy cream (chilled) – Use chilled cream for better whipping, resulting in a lighter ice cream.
- For Sweetness
1/2 cup sweetened condensed milk – This adds a rich sweetness and creamy consistency to your No Churn Banana Ice Cream.
- For Flavor
1 teaspoon vanilla extract – A touch of vanilla enhances the overall flavor profile beautifully.
How to Make No Churn Banana Ice Cream
1. Combine: In a mixing bowl, combine the frozen banana slices, chilled heavy cream, sweetened condensed milk, and vanilla extract. This delightful mix will set the foundation for your creamy treat!
2. Whisk: Using a whisk, blend the ingredients until smooth and creamy. You’ll notice the vibrant color of the bananas and the rich texture coming together beautifully.
3. Transfer: Transfer the mixture to a freezer-safe container and spread it evenly. Make sure it’s level for consistent freezing; this will help achieve that perfect scoopable texture later.
4. Freeze: Cover the container and freeze for at least 4 hours or until firm. Patience is key here; let those flavors meld together while you dream of ice cream bliss!
5. Serve: Scoop and serve the banana ice cream once frozen. The creamy consistency should entice everyone to indulge in this delicious dessert!
Optional: Drizzle with chocolate syrup for an extra touch of sweetness.
Exact quantities are listed in the recipe card below.
Expert Tips
- Banana Ripeness Matters: Use very ripe bananas with lots of brown spots for the sweetest flavor and creaminess in your No Churn Banana Ice Cream.
- Chill Your Cream: Ensure your heavy cream is well-chilled before whipping; this helps achieve a light and fluffy texture.
- Smooth Blending: Whisk the ingredients thoroughly until completely smooth to avoid icy chunks in your finished ice cream.
- Proper Freezing: Allow the ice cream to freeze for at least 4 hours; less time may result in a soft, mushy texture that’s hard to scoop.
- Storage Tips: Store in an airtight container to prevent ice crystals from forming on your No Churn Banana Ice Cream.
How to Store and Freeze No Churn Banana Ice Cream
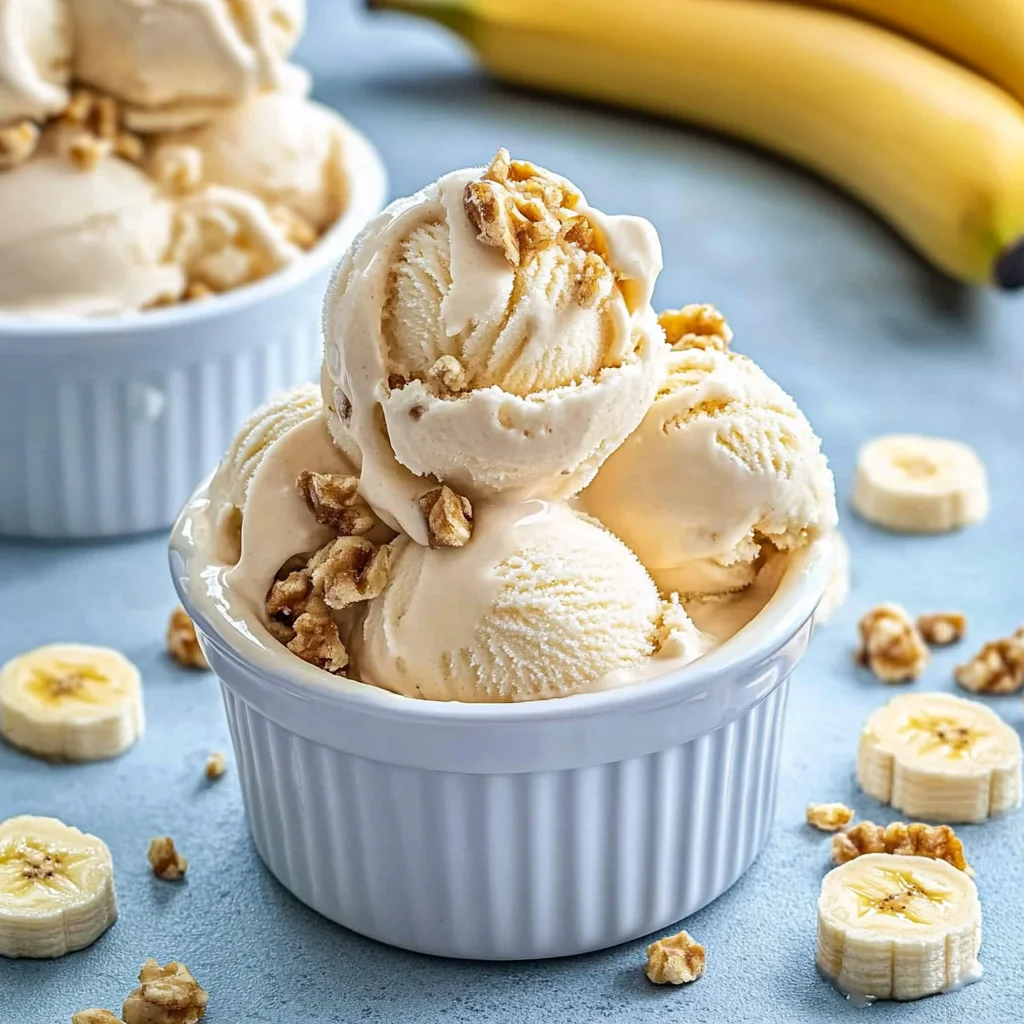
- Freezer: Store your No Churn Banana Ice Cream in an airtight container for up to 2 weeks to maintain its creamy texture and flavor.
- Fridge: If you have any leftovers, you can keep them in the fridge for up to 3 days, but be aware that the texture may become softer.
- Serving: For the best experience, let the ice cream sit at room temperature for about 5-10 minutes before scooping to achieve that perfect creamy consistency.
- Re-freezing: Avoid re-freezing once thawed, as this could lead to ice crystals forming and alter the delightful creaminess of your dessert.
Make No Churn Banana Ice Cream Your Own
Feel free to get creative and customize this delightful treat to suit your taste buds!
- Nutty Crunch: Add 1/2 cup of chopped nuts for a satisfying crunch. Walnuts or almonds work wonderfully, enhancing both flavor and texture.
- Chocolate Lovers: Incorporate 1/4 cup of cocoa powder or melted chocolate into the mixture. This adds a rich, decadent twist that will have you dreaming of dessert all day.
- Fruity Fusion: Blend in 1/2 cup of your favorite berries for a refreshing fruity flavor. Strawberries or raspberries provide a delightful contrast to the creamy banana base.
- Spicy Kick: Mix in 1/2 teaspoon of cinnamon or a dash of cayenne pepper for a surprising heat. This unexpected warmth can elevate the sweetness of the bananas beautifully.
- Coconut Cream: Swap out heavy cream for coconut cream for a tropical flair. This substitution not only adds richness but also infuses a subtle coconut flavor that pairs perfectly with bananas.
- Caramel Swirl: Drizzle in 1/4 cup of caramel sauce before freezing for an indulgent treat. The ribbons of caramel create pockets of sweetness throughout your ice cream.
- Coffee Buzz: Stir in 1 tablespoon of instant coffee granules for a caffeinated boost. The coffee enhances the flavors while providing an energizing twist to your dessert experience.
Make Ahead Options
If you’re looking for an effortless dessert that can be prepped ahead, this No Churn Banana Ice Cream is just the ticket! You can slice and freeze your ripe bananas up to 3 days in advance, ensuring they’re perfectly sweet when it’s time to whip up your ice cream. Additionally, chilling the heavy cream and having the sweetened condensed milk and vanilla extract ready to go will streamline your prep. Simply combine these prepped ingredients in a mixing bowl, whisk until smooth, transfer to a freezer-safe container, and freeze for at least 4 hours or until firm. When you’re ready to serve, just scoop out this delightful banana ice cream for a creamy treat that’s sure to please!
No Churn Banana Ice Cream Recipe FAQs
How ripe should the bananas be for this recipe?
Using 4 ripe bananas is key to achieving that creamy texture and natural sweetness. Look for bananas with a few brown spots; they’ll be sweet, soft, and perfect for slicing and freezing!
Can I use something other than heavy cream?
Absolutely! If you’re looking for a lighter option, you can substitute the 1 cup of heavy cream with coconut cream. This will give your No Churn Banana Ice Cream a delightful tropical twist while still providing that creamy consistency.
What’s the best way to store leftover banana ice cream?
If you have any leftovers (which is rare, I know!), transfer them to an airtight container and store it in the freezer. It will keep well for about a week, but for the best texture, try to enjoy it within 3–4 days since it may become icy after longer storage.
How long do I need to freeze the banana ice cream?
For optimal results, freeze your mixture for at least 4 hours or until firm. If you’re short on time and want to dig in sooner, just remember that the longer it freezes, the creamier it will become!
Can I add mix-ins like chocolate chips or nuts?
Definitely! Feel free to get creative by folding in your favorite mix-ins like chocolate chips or chopped nuts after blending the base ingredients. Just make sure not to overdo it to maintain that smooth texture.
Is this banana ice cream suitable for vegans?
This recipe, as it stands, isn’t vegan due to the heavy cream and sweetened condensed milk. However, you can easily adapt it by using full-fat coconut milk instead of heavy cream and looking for a plant-based sweetened condensed milk alternative!
No Churn Banana Ice Cream
Ingredients
Method
- In a mixing bowl, combine the frozen banana slices, heavy cream, sweetened condensed milk, and vanilla extract.
- Using a whisk, blend the ingredients until smooth and creamy.
- Transfer the mixture to a freezer-safe container and spread it evenly.
- Cover the container and freeze for at least 4 hours or until firm.
- Scoop and serve the banana ice cream once frozen.