
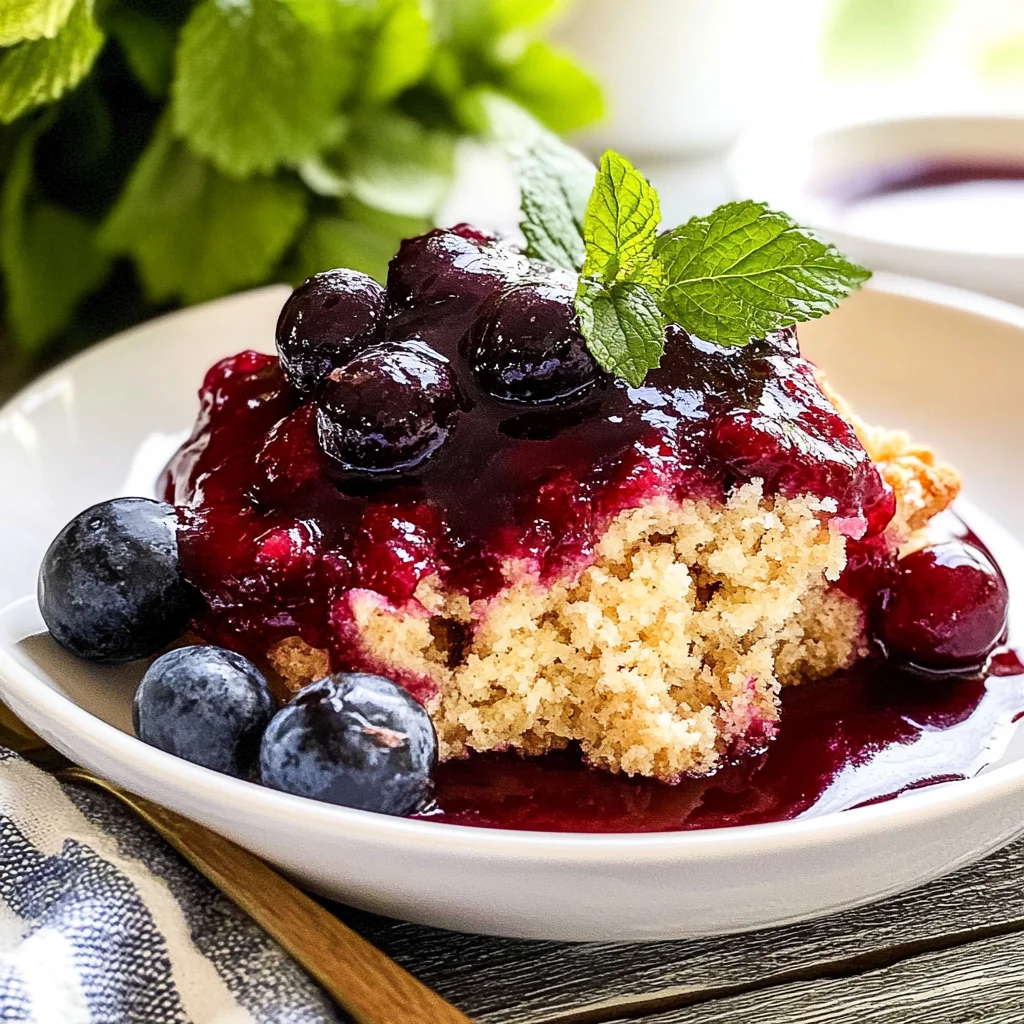
Imagine sinking your fork into a warm slice of Cherry Buckle, where the sweet, tangy cherries burst with flavor against a backdrop of soft, buttery cake. The aroma wafts through the air like a comforting hug, and that crumbly topping? It’s like the cherry on top—literally! Perfect for summer picnics or cozy family gatherings, this delightful treat promises to turn any occasion into a memorable feast.
As I recall baking this scrumptious Cherry Buckle for my grandmother’s birthday, the laughter and joy shared over each slice still brings a smile to my face. With every bite, you’ll experience an explosion of flavors that dance on your palate—sweet, tart, and utterly delicious. So whether you’re celebrating or just looking for a slice of happiness, this dessert will surely elevate your taste buds to new heights!
Why Is Cherry Buckle So Irresistibly Good?
Delightful flavor: This Cherry Buckle combines the sweetness of fresh cherries with a tender, buttery cake that melts in your mouth.
Easy to make: With just 15 minutes of prep time, you can whip up this scrumptious dessert without breaking a sweat.
Versatile treat: Perfect for brunch, afternoon coffee, or a cozy family gathering, this cake appeals to everyone!
Crumbly topping: The sweet and spiced topping creates an irresistible crunch that beautifully contrasts the soft cake beneath.
Fresh ingredients: Using simple staples like flour and butter alongside juicy cherries makes every bite taste like summer!
Cherry Buckle Ingredient List
- For the Cake
- 1 cup all-purpose flour – This forms the tender base of your Cherry Buckle.
- 1 tsp baking powder – Helps the cake rise and become light and fluffy.
- 1/4 tsp salt – Enhances the flavors of the other ingredients.
- 1/2 cup granulated sugar – Sweetens the cake and balances the tartness of the cherries.
- 1/4 cup unsalted butter (softened) – Adds richness and moisture to the cake.
- 1 large egg – Binds the ingredients together for a cohesive batter.
- 1/2 tsp vanilla extract – Infuses a warm, comforting flavor throughout the cake.
- 1/2 cup milk – Keeps the cake moist and contributes to its tender texture.
- 2 cups fresh cherries (pitted and halved) – Provides juicy bursts of flavor in each bite.
- For the Topping
- 1/2 cup all-purpose flour – Adds structure to the crumbly topping that contrasts with the soft cake.
- 1/2 cup brown sugar – Creates a deep, caramel-like sweetness in the topping.
- 1/4 cup unsalted butter (melted) – Binds the topping ingredients together and adds richness.
- 1/2 tsp cinnamon – Introduces a warm spice that complements the cherries beautifully.
How to Make Cherry Buckle
1. Preheat the oven to 350°F (175°C). Grease and flour a 9-inch round cake pan to ensure your delightful cherry buckle releases easily after baking.
2. Whisk together 1 cup all-purpose flour, 1 tsp baking powder, and 1/4 tsp salt in a mixing bowl. This dry mixture sets the foundation for your tender cake.
3. Cream together 1/2 cup granulated sugar and 1/4 cup softened unsalted butter in another bowl until light and fluffy. This step adds that delightful sweetness and richness to the cake.
4. Add 1 large egg and 1/2 tsp vanilla extract, mixing until well combined. The egg binds everything together while the vanilla infuses a warm aroma.
5. Gradually mix in the dry ingredients to the wet mixture, alternating with 1/2 cup milk, until just combined. Be careful not to overmix; you want a light batter!
6. Fold in 2 cups of fresh cherries (pitted and halved) gently, ensuring they’re evenly distributed throughout the batter for juicy bites in every slice.
For the Topping:
7. Combine 1/2 cup all-purpose flour, 1/2 cup brown sugar, melted butter (1/4 cup), and 1/2 tsp cinnamon in a separate bowl until crumbly. This topping will create a delightful texture contrast with the soft cake.
8. Pour the cake batter into the prepared pan and sprinkle the crumbly topping evenly over it. This layer will add both flavor and crunch as it bakes.
9. Bake in the preheated oven for 35-40 minutes, or until a toothpick inserted into the center comes out clean. The top should be golden brown and fragrant!
10. Cool for a few minutes before serving to allow it to set slightly—this cake is best enjoyed warm with that gooey cherry goodness!
Optional: Serve with whipped cream for an extra touch of indulgence!
Exact quantities are listed in the recipe card below.
Tips for the Best Cherry Buckle
- Fresh Cherries Matter: Use ripe, fresh cherries for a burst of flavor. Frozen cherries can lead to a soggy cake if not properly drained.
- Measure Flour Accurately: Spoon and level your flour instead of scooping directly from the bag. This prevents a dense texture in your Cherry Buckle.
- Don’t Overmix: Combine the wet and dry ingredients until just combined. Overmixing can make the cake tough, so be gentle when folding in the cherries.
- Topping Consistency: Ensure your crumb topping is evenly mixed and crumbly. If too wet, add a bit more flour to achieve that delightful crunch.
- Cool Before Serving: Allow the cake to cool for at least 10 minutes before slicing. This helps it set and makes it easier to serve without falling apart.
How to Store and Freeze Cherry Buckle
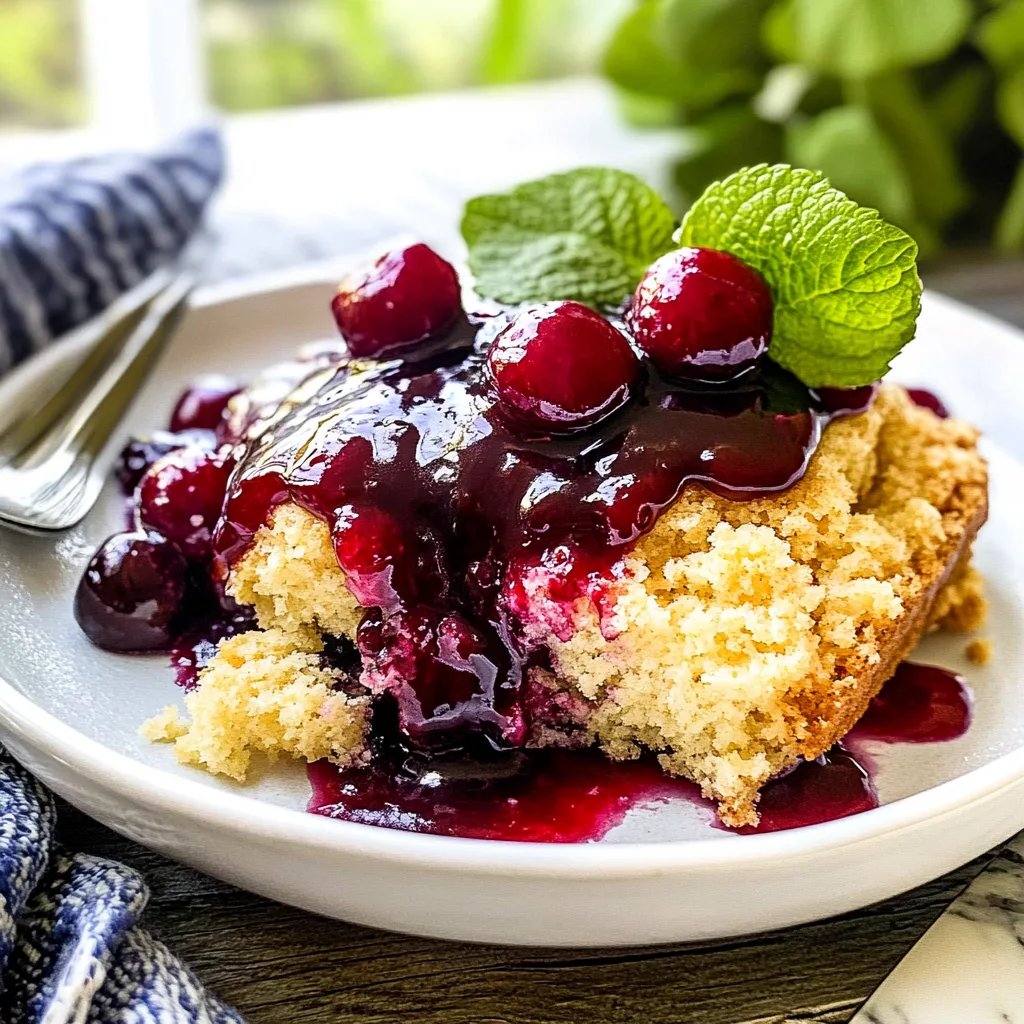
- Room Temperature: Cherry Buckle can be kept at room temperature for up to 2 days, covered with a clean kitchen towel or in an airtight container to maintain freshness.
- Fridge: For longer storage, refrigerate the Cherry Buckle for up to 5 days. Place it in an airtight container to prevent it from drying out.
- Freezer: If you want to enjoy your Cherry Buckle later, freeze it for up to 3 months. Wrap individual slices tightly in plastic wrap and then place them in a freezer-safe bag.
- Reheating: To enjoy your Cherry Buckle warm, simply thaw in the fridge overnight, then reheat in a microwave for about 20-30 seconds or in an oven set at 350°F (175°C) for 10 minutes.
Cherry Buckle Variations
Feel free to get creative and personalize your cake with these delightful twists that will make your bake truly special!
- Gluten-Free: Substitute all-purpose flour with a 1:1 gluten-free baking blend for a deliciously tender cake. This option ensures everyone can enjoy the warm, comforting flavors without compromising on taste.
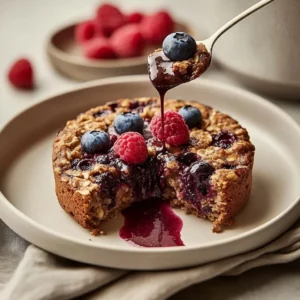
- Fruit Fusion: Replace cherries with blueberries or raspberries for a vibrant twist. Each berry brings its own unique flavor, making your buckle a delightful medley of fruits.
- Nutty Crunch: Add 1/2 cup of chopped walnuts or pecans to the batter for an extra crunch. The nutty flavor complements the sweetness of cherries beautifully, creating a wonderful texture contrast.
- Coconut Cream: Use coconut milk instead of regular milk for a tropical touch. This substitution adds a lovely hint of coconut that pairs perfectly with the cherries’ tartness.
- Spiced Up: Incorporate 1/4 teaspoon of nutmeg or cardamom into the batter for a warm spice note. These spices elevate the overall flavor profile and give it a cozy feel.
- Zesty Lemon: Add 1 tablespoon of lemon zest to the batter for a refreshing citrus kick. The bright zest balances the sweetness and enhances the cherry flavor wonderfully.
- Vegan Delight: Swap egg for 1/4 cup unsweetened applesauce and use plant-based butter. This version keeps your buckle moist while catering to vegan diets without sacrificing taste.
Make Ahead Options
If you’re looking to save time while still enjoying the delightful flavors of Cherry Buckle, this recipe is perfect for meal prep. You can prepare the dry ingredients—1 cup of all-purpose flour, 1 tsp baking powder, and 1/4 tsp salt—up to 24 hours in advance. You can also cream together the 1/2 cup granulated sugar and 1/4 cup softened unsalted butter, then mix in the egg and 1/2 tsp vanilla extract ahead of time, storing it in the fridge. Additionally, the topping with 1/2 cup flour, 1/2 cup brown sugar, and melted butter can be mixed and kept for up to 3 days. When you’re ready to bake, simply combine all components and fold in your fresh cherries before pouring the batter into your greased pan. Bake as directed for that fresh-from-the-oven taste! Enjoy the time-saving benefits of this Cherry Buckle, ensuring you have more moments to savor each delicious bite with your loved ones.
Cherry Buckle Questions Answered
What type of cherries should I use for this Cherry Buckle?
Fresh, ripe cherries are ideal for this recipe. Look for firm, plump cherries that are deep red in color. If fresh cherries aren’t available, you can use frozen cherries, but be sure to thaw and drain them first to avoid excess moisture in your batter.
How should I store leftover Cherry Buckle?
To keep your Cherry Buckle fresh, store it in an airtight container at room temperature for up to 2 days. If you want to keep it longer, you can refrigerate it for up to a week. Just be sure to let it come back to room temperature before enjoying it again!
Can I freeze Cherry Buckle?
Absolutely! This delightful cake freezes well. Wrap individual slices in plastic wrap and place them in a freezer-safe bag. You can freeze them for up to 3 months. When you’re ready to enjoy a slice, just let it thaw in the fridge overnight or at room temperature for a few hours.
What if my Cherry Buckle turns out too dry?
If you find your Cherry Buckle is dry, it could be due to overmixing the batter or baking it too long. Always mix until just combined and check for doneness at the lower end of the baking time (around 35 minutes). If you prefer a moister cake, consider adding an extra tablespoon of milk next time.
Can I substitute any ingredients in this recipe?
Certainly! If you’re looking for a healthier option, consider using whole wheat flour instead of all-purpose flour. For a dairy-free version, almond milk or oat milk can replace regular milk, and coconut oil can stand in for butter. Just keep in mind that these substitutions might slightly alter the final texture.
What is the serving size for this Cherry Buckle?
This recipe yields about 4 servings, making it perfect for a small family dessert or an intimate gathering. Each slice contains approximately 320 calories, so it’s a delightful treat without going overboard!