
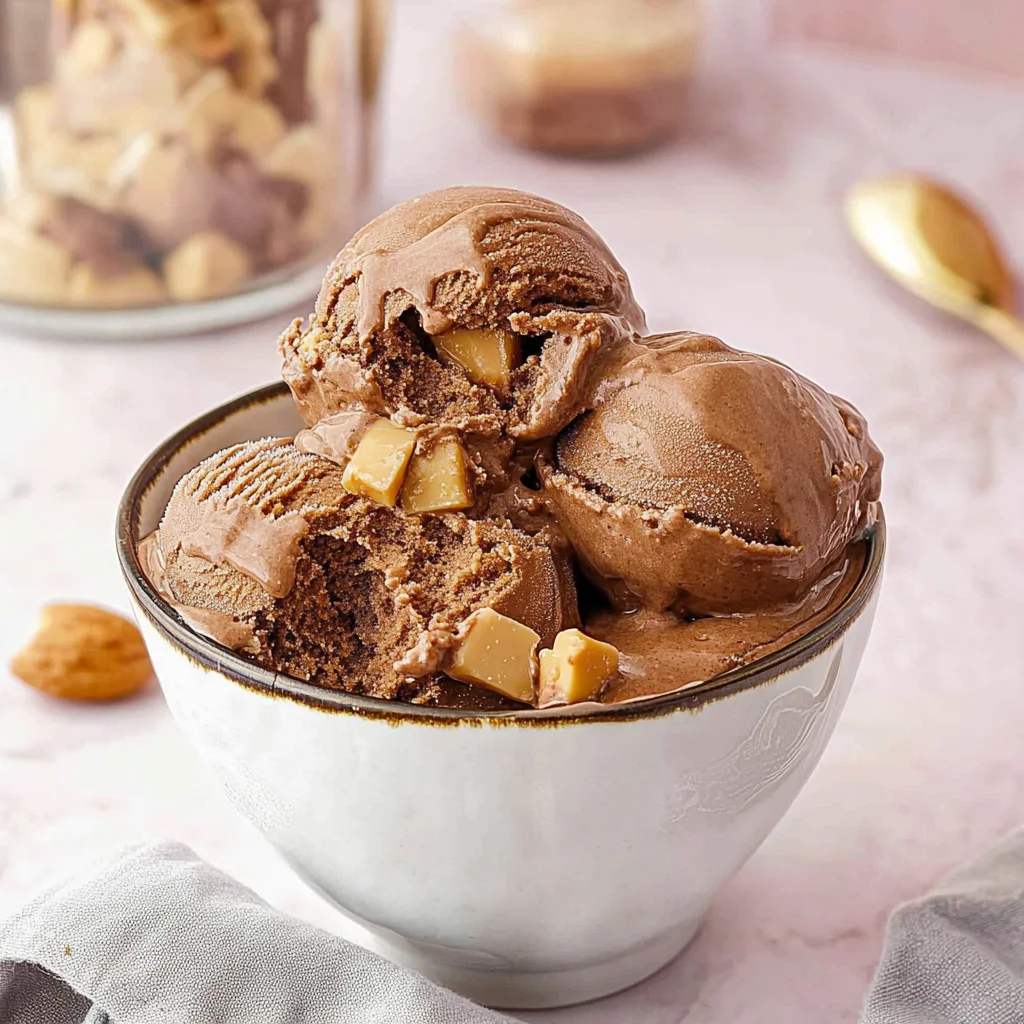
Imagine diving into a bowl of Chocolate Peanut Butter Cup Ice Cream, where velvety chocolate swirls meet the creamy embrace of peanut butter, creating a blissful harmony that dances on your taste buds. The enticing aroma wafts through the air, promising a delightful indulgence that\u2019s impossible to resist, especially on a hot summer day or during cozy movie nights.
This ice cream isn’t just a treat; it\u2019s a nostalgic journey back to childhood, reminiscent of those carefree days spent savoring sweet treats with friends. Picture yourself relishing each spoonful, discovering chunks of peanut butter cups that add delightful surprises and textures, making every bite an adventure worth sharing at family gatherings or casual get-togethers.
Why Will You Keep Making Chocolate Peanut Butter Cup Ice Cream?
Indulge in the ultimate dessert experience with this rich, creamy delight! Featuring a luscious blend of heavy cream and whole milk, each scoop is irresistibly smooth. Enhanced by decadent chocolate syrup and creamy peanut butter, it strikes the perfect balance between sweet and savory. Loaded with chunks of peanut butter cups, this ice cream adds delightful texture and flavor that will keep everyone coming back for more. Quickly whip it up in just 15 minutes\u2014perfect for spontaneous cravings or gatherings!
Ingredients for Chocolate Peanut Butter Cup Ice Cream
For the Ice Cream Base
- 2 cups heavy cream \u2013 This creates a rich and luxurious texture that makes every scoop feel indulgent.
- 1 cup whole milk \u2013 The milk adds creaminess while balancing the richness of the heavy cream.
- 3/4 cup granulated sugar \u2013 Sweetens the ice cream while enhancing the flavors of chocolate and peanut butter.
- 1 teaspoon vanilla extract \u2013 A touch of vanilla deepens the flavor profile, bringing all the ingredients together beautifully.
- 1/2 cup creamy peanut butter \u2013 Infuses the ice cream with nutty goodness, creating that signature peanut butter flavor.
- 1/2 cup chocolate syrup \u2013 Adds a luscious chocolate taste that complements the peanut butter perfectly.
For the Mix-ins
- 1 cup chopped peanut butter cups (such as Reese’s) \u2013 These chunks provide delightful bursts of flavor and texture in every creamy bite of Chocolate Peanut Butter Cup Ice Cream.
How to Make Chocolate Peanut Butter Cup Ice Cream
1. Whisk Together: In a mixing bowl, whisk together the 2 cups of heavy cream, 1 cup of whole milk, 3/4 cup of granulated sugar, and 1 teaspoon of vanilla extract until the sugar is fully dissolved and the mixture is smooth.
2. Combine Flavors: Add in 1/2 cup of creamy peanut butter and 1/2 cup of chocolate syrup. Whisk until everything is fully combined and the mixture is velvety and rich.
3. Chill Mixture: Cover the bowl with plastic wrap and refrigerate for at least 2 hours or until thoroughly chilled. This step helps enhance the flavors and prepares your ice cream base for churning.
4. Churn Ice Cream: Pour the chilled mixture into your ice cream maker. Churn according to the manufacturer’s instructions until it reaches a soft-serve consistency\u2014this typically takes about 20-25 minutes.
5. Add Mix-ins: During the last few minutes of churning, gently add in 1 cup of chopped peanut butter cups (like Reese’s) to incorporate those delightful chunks throughout.
6. Freeze Firm: Transfer your luscious ice cream to a freezer-safe container and freeze for at least 2 hours or until firm. This final step solidifies your masterpiece into creamy perfection.
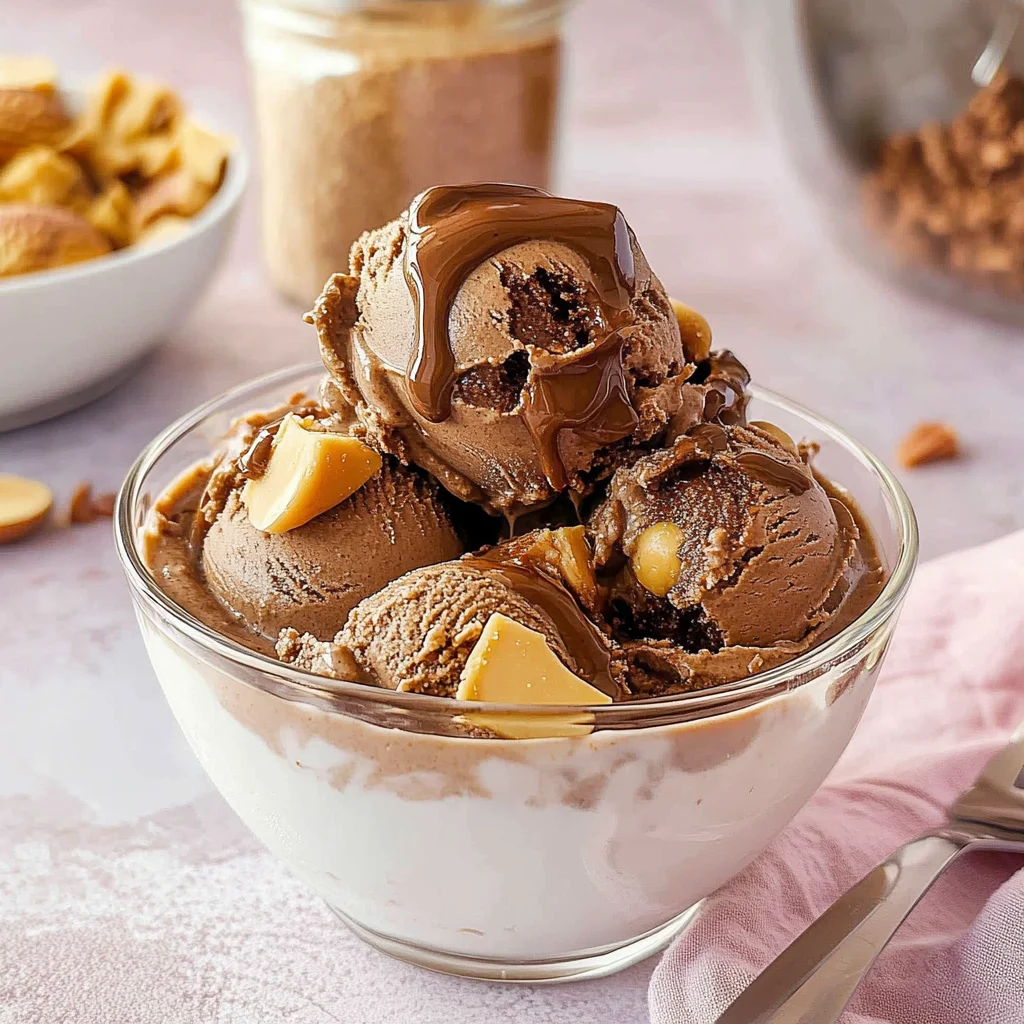
Optional: Drizzle extra chocolate syrup on top before serving for added indulgence.
Exact quantities are listed in the recipe card below.
Expert Tips
- Chill Thoroughly: Make sure your ice cream base is chilled for at least 2 hours; this helps achieve the perfect creamy texture in your Chocolate Peanut Butter Cup Ice Cream.
- Whisk Well: Take the time to whisk the heavy cream, milk, and sugar until fully dissolved. This ensures a smooth consistency without any graininess.
- Add Mix-ins Last: Incorporate the chopped peanut butter cups during the last few minutes of churning to prevent them from breaking down too much.
- Use Quality Ingredients: Opt for high-quality chocolate syrup and creamy peanut butter. It makes a noticeable difference in flavor for your ice cream.
- Avoid Over-Churning: Keep an eye on your ice cream maker; over-churning can lead to a dense texture instead of a light, fluffy Chocolate Peanut Butter Cup Ice Cream.
- Proper Storage: Use an airtight container for freezing to prevent ice crystals from forming, ensuring your ice cream stays creamy and delicious.
How to Store and Freeze Chocolate Peanut Butter Cup Ice Cream
- Freezer: Store your Chocolate Peanut Butter Cup Ice Cream in an airtight container for up to 2 months. This helps maintain its creamy texture and flavor.
- Fridge: If you have leftover ice cream, it can be kept in the fridge for up to 3 days before it starts losing its texture.
- Wrap Well: For best results, cover the surface of the ice cream with plastic wrap before sealing the container to prevent ice crystals from forming.
- Serving: Before serving, let your Chocolate Peanut Butter Cup Ice Cream sit at room temperature for about 5 minutes for easier scooping.
Chocolate Peanut Butter Cup Ice Cream Your Way
Feel free to get creative and personalize this indulgent treat with these delightful twists!
- Dairy-Free: Substitute heavy cream and whole milk with coconut cream and almond milk for a luscious, plant-based version. The rich coconut flavor pairs beautifully with chocolate and peanut butter.
- Sugar-Free: Use a sugar substitute like erythritol or stevia in lieu of granulated sugar. This option allows you to enjoy the same creamy texture without the extra calories.
- Crunchy Twist: Swap creamy peanut butter for crunchy peanut butter to add delightful texture. The chunks will provide a satisfying contrast to the smooth ice cream base.
- Flavor Boost: Replace chocolate syrup with caramel sauce for a surprising twist on flavors. The combination of caramel and peanut butter creates a new favorite that\u2019s hard to resist.
- Nutty Addition: Mix in some chopped almonds or hazelnuts along with the peanut butter cups for an extra nutty crunch. This adds an exciting layer of flavor that complements the creamy base perfectly.
- Spicy Kick: Stir in a dash of cayenne pepper or chili powder for an unexpected heat. This subtle spice will elevate your dessert experience, adding complexity to each bite.
- Fruity Flair: Incorporate crushed bananas or strawberries into the mix-ins for a fruity burst. Their sweetness pairs wonderfully with chocolate and peanut butter, creating a delightful balance.
Make Ahead Options
Preparing Chocolate Peanut Butter Cup Ice Cream in advance is a breeze and perfect for those who love to meal prep! You can whip up the ice cream base by whisking together 2 cups of heavy cream, 1 cup of whole milk, 3/4 cup of granulated sugar, 1 teaspoon of vanilla extract, 1/2 cup of creamy peanut butter, and 1/2 cup of chocolate syrup ahead of time. Simply cover the mixture and refrigerate it for at least 2 hours\u2014or even up to 3 days\u2014until it’s thoroughly chilled. When you’re ready to churn your delicious creation, pour the chilled mixture into the ice cream maker until it reaches a soft-serve consistency. Don’t forget to add your chopped peanut butter cups during the last few minutes! After transferring your Chocolate Peanut Butter Cup Ice Cream to a freezer-safe container, freeze it for a minimum of 2 hours or until firm, ensuring every scoop is as delightful as the last. Enjoy the time-saving benefits this make-ahead method provides!
Chocolate Peanut Butter Cup Ice Cream Recipe FAQs
How can I ensure my ice cream base is smooth and creamy?
To achieve a velvety texture, make sure to whisk the heavy cream, whole milk, granulated sugar, and vanilla extract until the sugar is completely dissolved. This should take about 2-3 minutes. When adding the peanut butter and chocolate syrup, whisk until fully combined\u2014this ensures that every scoop of your ice cream is rich and indulgent.
What’s the best way to store leftover ice cream?
Transfer any leftover Chocolate Peanut Butter Cup Ice Cream into an airtight freezer-safe container. Be sure to press a piece of plastic wrap against the surface of the ice cream before sealing it with a lid. This helps prevent ice crystals from forming and keeps your ice cream fresh for up to 2 weeks in the freezer.
Can I use low-fat ingredients instead?
While you can substitute lower-fat alternatives, such as using half-and-half instead of heavy cream or reduced-fat peanut butter, keep in mind that it might affect the creaminess and richness of your ice cream. For the best results, stick with the original ingredients for that delightful richness your family will love!
What if my ice cream doesn\u2019t churn properly?
If your ice cream isn\u2019t reaching a soft-serve consistency after following your maker\u2019s instructions (usually around 20-30 minutes), try chilling your mixture for an extra hour before churning. Also, ensure that your ice cream maker\u2019s bowl is fully frozen (if applicable) to guarantee a proper freeze during churning.
Is this recipe suitable for those with nut allergies?
Unfortunately, this Chocolate Peanut Butter Cup Ice Cream isn’t suitable for individuals with nut allergies due to the inclusion of peanut butter and peanut butter cups. For a nut-free version, you could experiment with sun butter or omit the nut ingredients altogether, replacing them with chocolate chips or cookie dough for delicious mix-ins!
How many servings does this recipe yield?
This delightful recipe yields about 4 servings\u2014perfect for sharing with family on a warm day! Each generous serving contains approximately 400 calories, making it a rich treat that everyone will enjoy while creating sweet memories together.
Pin This Recipe for Later
Love this recipe? Save this pin to your favorite Pinterest board so you have it ready whenever you need it!